Posts tagged Raw
Avocado & Cos Salad

Avocado & Cos Salad

Serves 4-6
Prep time: 10 minutes

INGREDIENTS

2 heads baby cos lettuce, washed and leaves broken apart
2 avocados, sliced into wedges
4 spring onions, finely sliced
2 tbs sunflower seeds

For the dressing
1/4 cup apple cider vinegar
1/4 cup avocado oil
1/2 cup light olive oil
1 tbs lemon juice
1 tsp salt
1/4 cup chopped dill
1 tbs chopped mint
Pepper

METHOD

  1. Add cos lettuce leaves, avocado, spring onions, and sunflower seeds into a wide salad bowl.

  2. Combine vinegar, lemon juice and oils in a jar. Shake until emulsified.

  3. Add chopped dill and mint into vinegarette, mixing again. Season with salt and pepper to taste.

  4. Drizzle salad with dressing just before serving.

Note: If you like a sweeter dressing add 1 tsp of maple syrup. Excess dressing can be kept in a jar in the fridge.

Raw 'Twix' Bars
Raw 'Twix' Bars // Kenkō Kitchen. Image taken from the Bliss Bites Cookbook. Cookbook out December 1st through Hardie Grant. Photography by Elisa Watson, styling by Caroline Velik.

Raw 'Twix' Bars // Kenkō Kitchen. Image taken from the Bliss Bites Cookbook. Cookbook out December 1st through Hardie Grant. Photography by Elisa Watson, styling by Caroline Velik.

There is a reason why George Costanza, in a Seinfeld episode, got so upset about someone eating his Twix bar. They are just so darn good you really don't want to share them. These Twixes are raw, so they're not exactly the real deal, but they are close enough for me. Keep these on hand in your freezer to snack on whenever you please - which will be always! Until you run out; in which case, just make more!


Raw 'Twix' Bars

Makes 12 or 24
Prep time: 15 minutes
Setting time: about 1 hour

INGREDIENTS

Base
155g (1 cup) activated or raw cashews or macadamia nuts
45g (1/2 cup) desiccated coconut
2 1/2 tablespoons almond meal
1/2 teaspoon vanilla extract or 1/4 teaspoon vanilla powder
2 tablespoons maple syrup

Caramel
13 medjool dates (about 260g), pitted
60ml (1/4 cup) maple syrup, coconut nectar or rice malt syrup
90g (1/3 cup) nut or seed butter
1 teaspoon vanilla extract or 1/2 teaspoon vanilla powder
1 tablespoon mesquite powder (optional)
pinch sea salt flakes

Chocolate coating
100g raw or dark chocolate, melted and cooled

METHOD

  1. Place all the ingredients for the base in your food processor and pulse until well combined.

  2. Line the base of a 20 x 15cm (8 x 6 in) baking tin with baking paper. Place the nut mixture into the tin, pressing it firmly and evenly over the base. Transfer to the freezer and freeze for about 30 minutes, or until firm.

  3. To make the caramel, combine the ingredients in the cleaned food processor and blend together until smooth. Remove the tin from the freezer and spread the caramel layer evenly over the base. Return to freezer to set firm.

  4. Line a small tray with baking paper.

  5. Once the mixture is firm, remove the Twix from the tin and cut into 12 even-sized fingers. You can then cut these in half widthways, to give 24 smaller fingers, if you like. Dip the fingers into the melted chocolate, draining off any excess, and place them on the tray.

  6. Refrigerate or freeze until the chocolate has set then transfer them to an airtight container to store. These will keep, ideally frozen, for a couple of months (or 2 days, if you find them as delicious as I do!).

Note: These bars go a bit soft in the fridge, so freezer storage is best. 

A New Cookbook / Bliss Bites
Not-So-Malt Teasers // Kenkō Kitchen. Image taken from the Bliss Bites Cookbook. Cookbook out December 1st through Hardie Grant. Photography by Elisa Watson, styling by Caroline Velik.

Not-So-Malt Teasers // Kenkō Kitchen. Image taken from the Bliss Bites Cookbook. Cookbook out December 1st through Hardie Grant. Photography by Elisa Watson, styling by Caroline Velik.

Something I am very excited to announce, although to be honest, it's been a fairly bad kept secret, is that I have written another cookbook! The cookbook is titled 'Bliss Bites' and is a super-cute pint-sized book with over 65 recipes both savoury and sweet! 

This cookbook is a small step away from my first cookbook, focusing on being as simple and accesible. After writing my first cookbook at the age of 22 I found I was using a few ingredients that not everyone could track down, or recipes that were a bit more advanced (can you blame me?! I was a very excited young thing writing my first ever book!). This cookbook has been created to cater for everyone, making fuss-free treats that are both delicious and healthy! None of the recipes have been designed to be daunting and I have written substitutions where applicable to make them as allergy friendly as possible too!

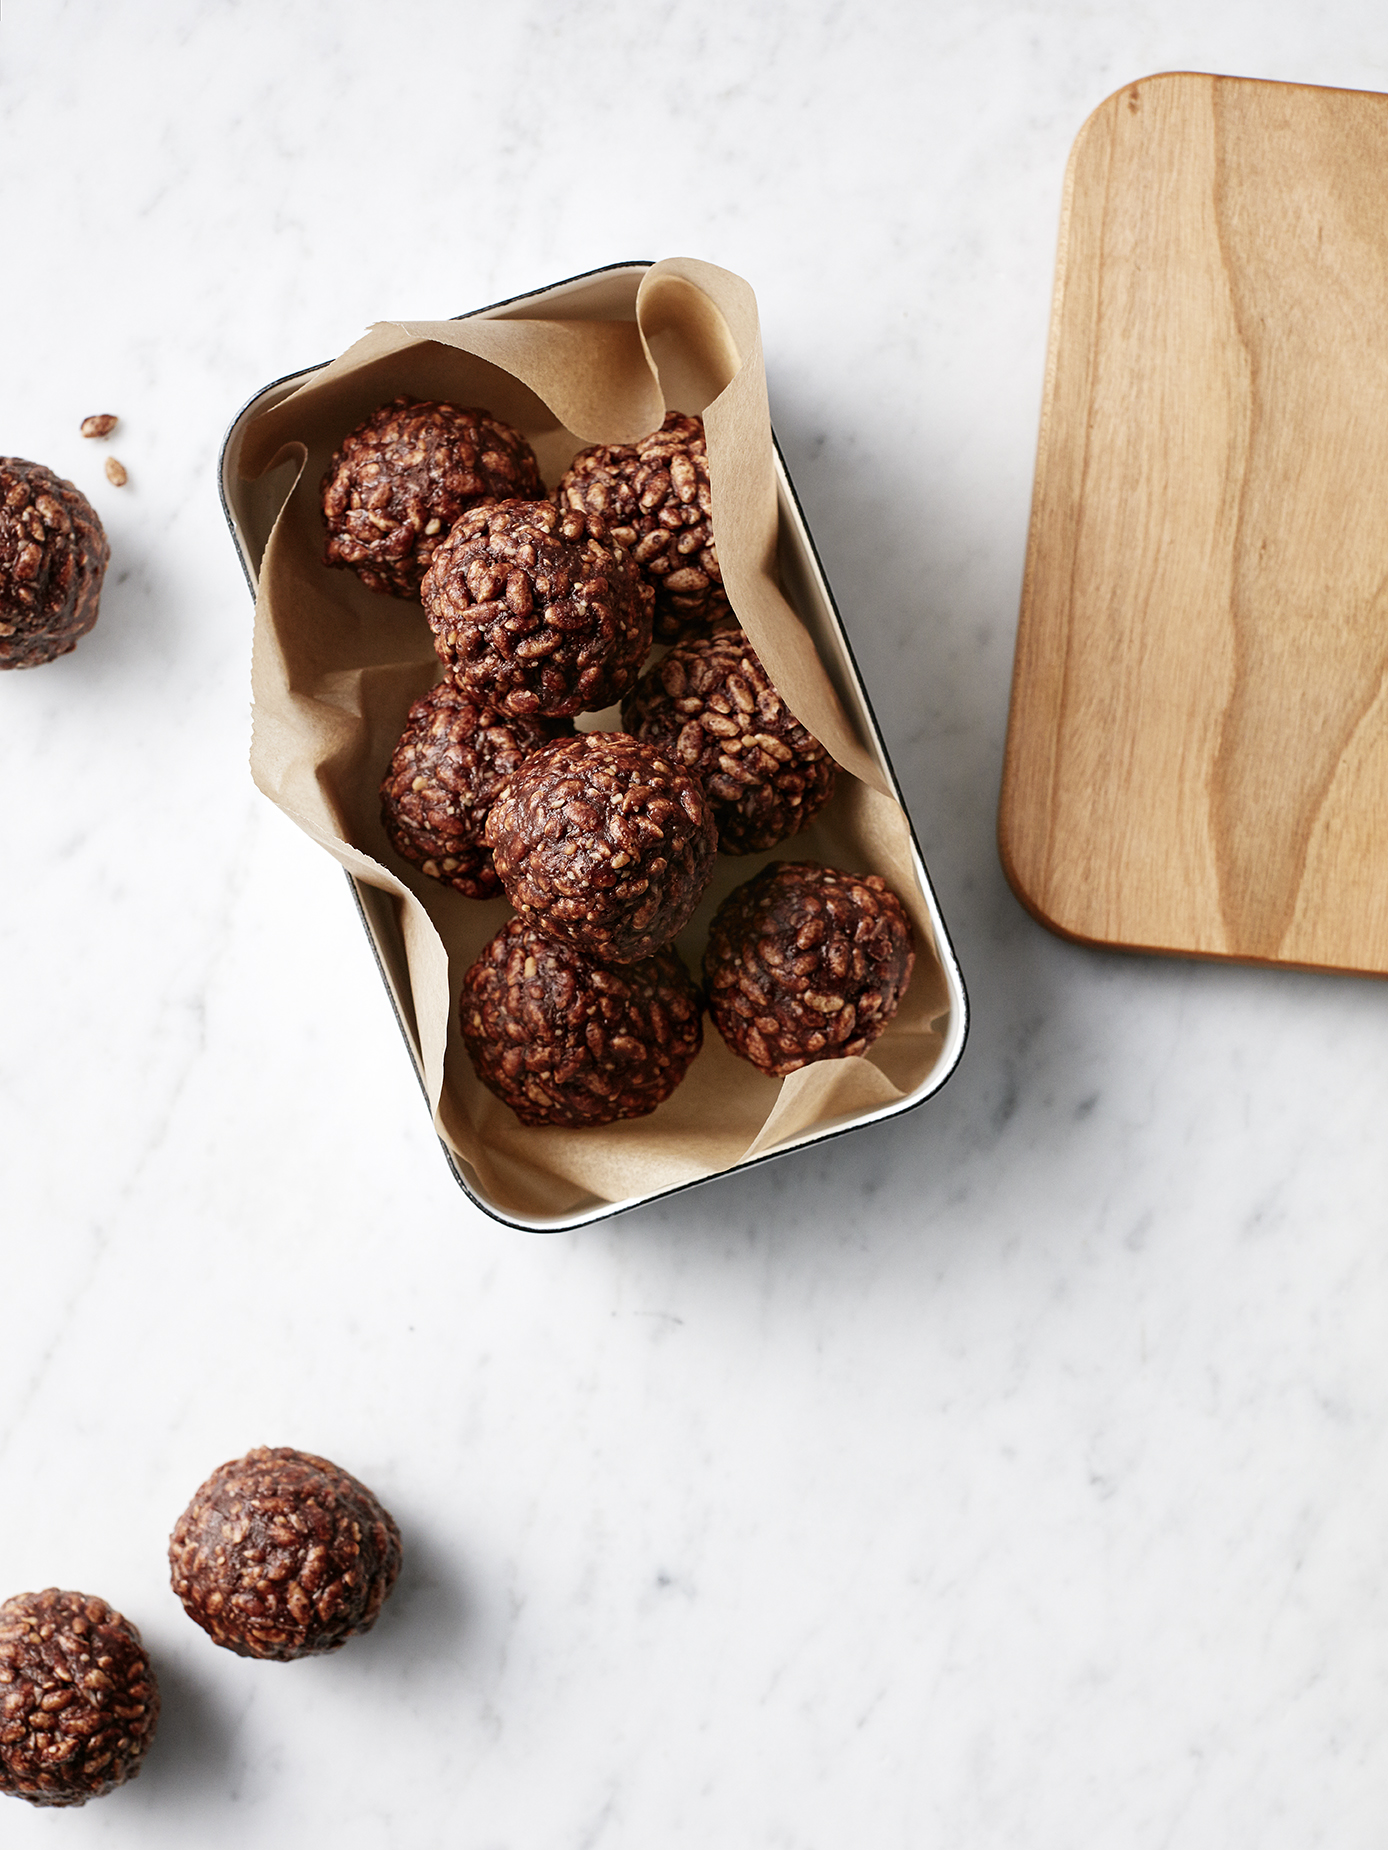
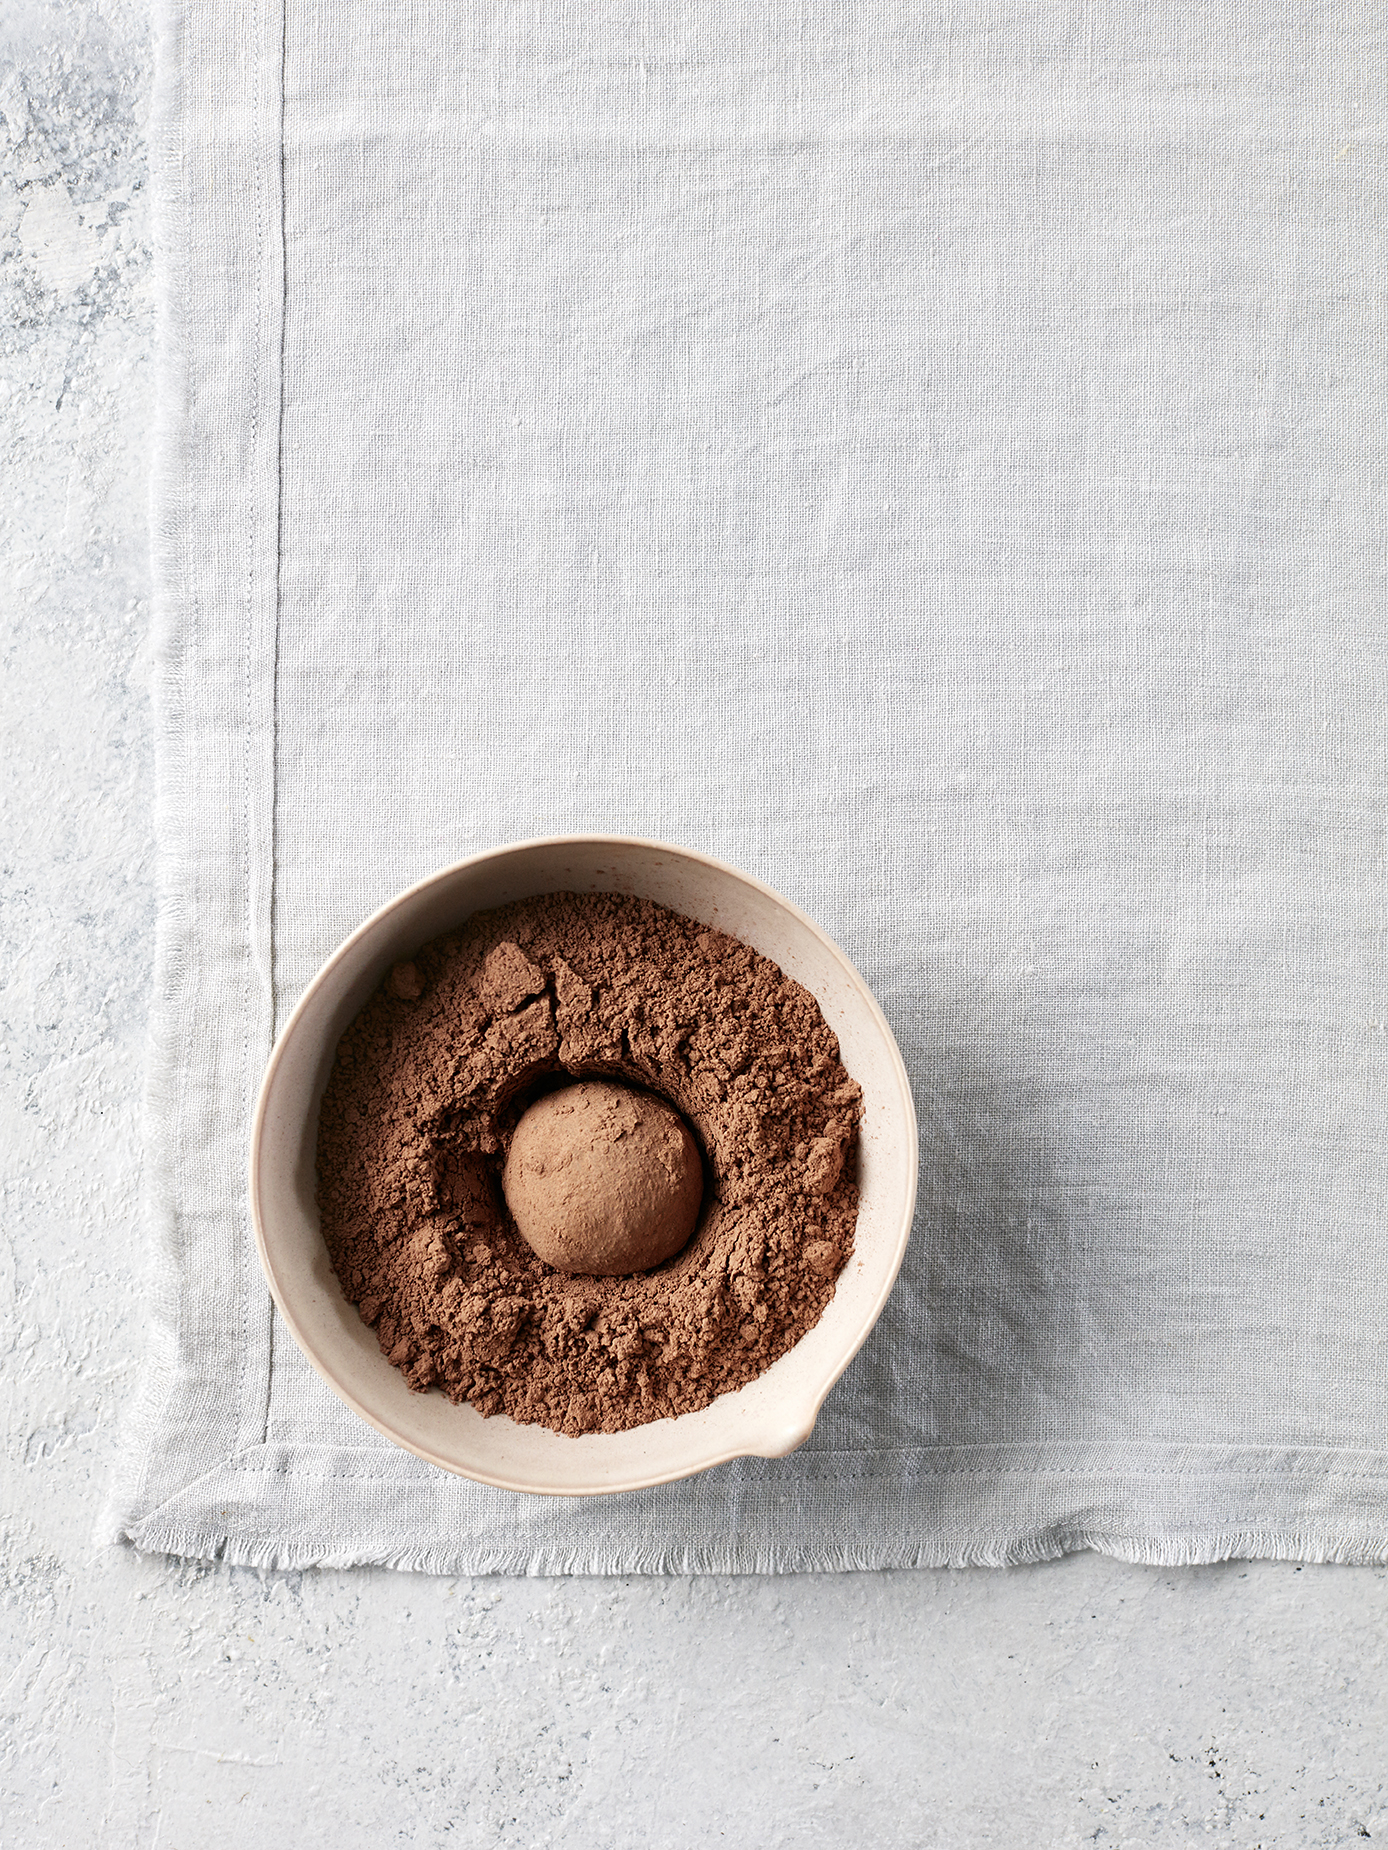
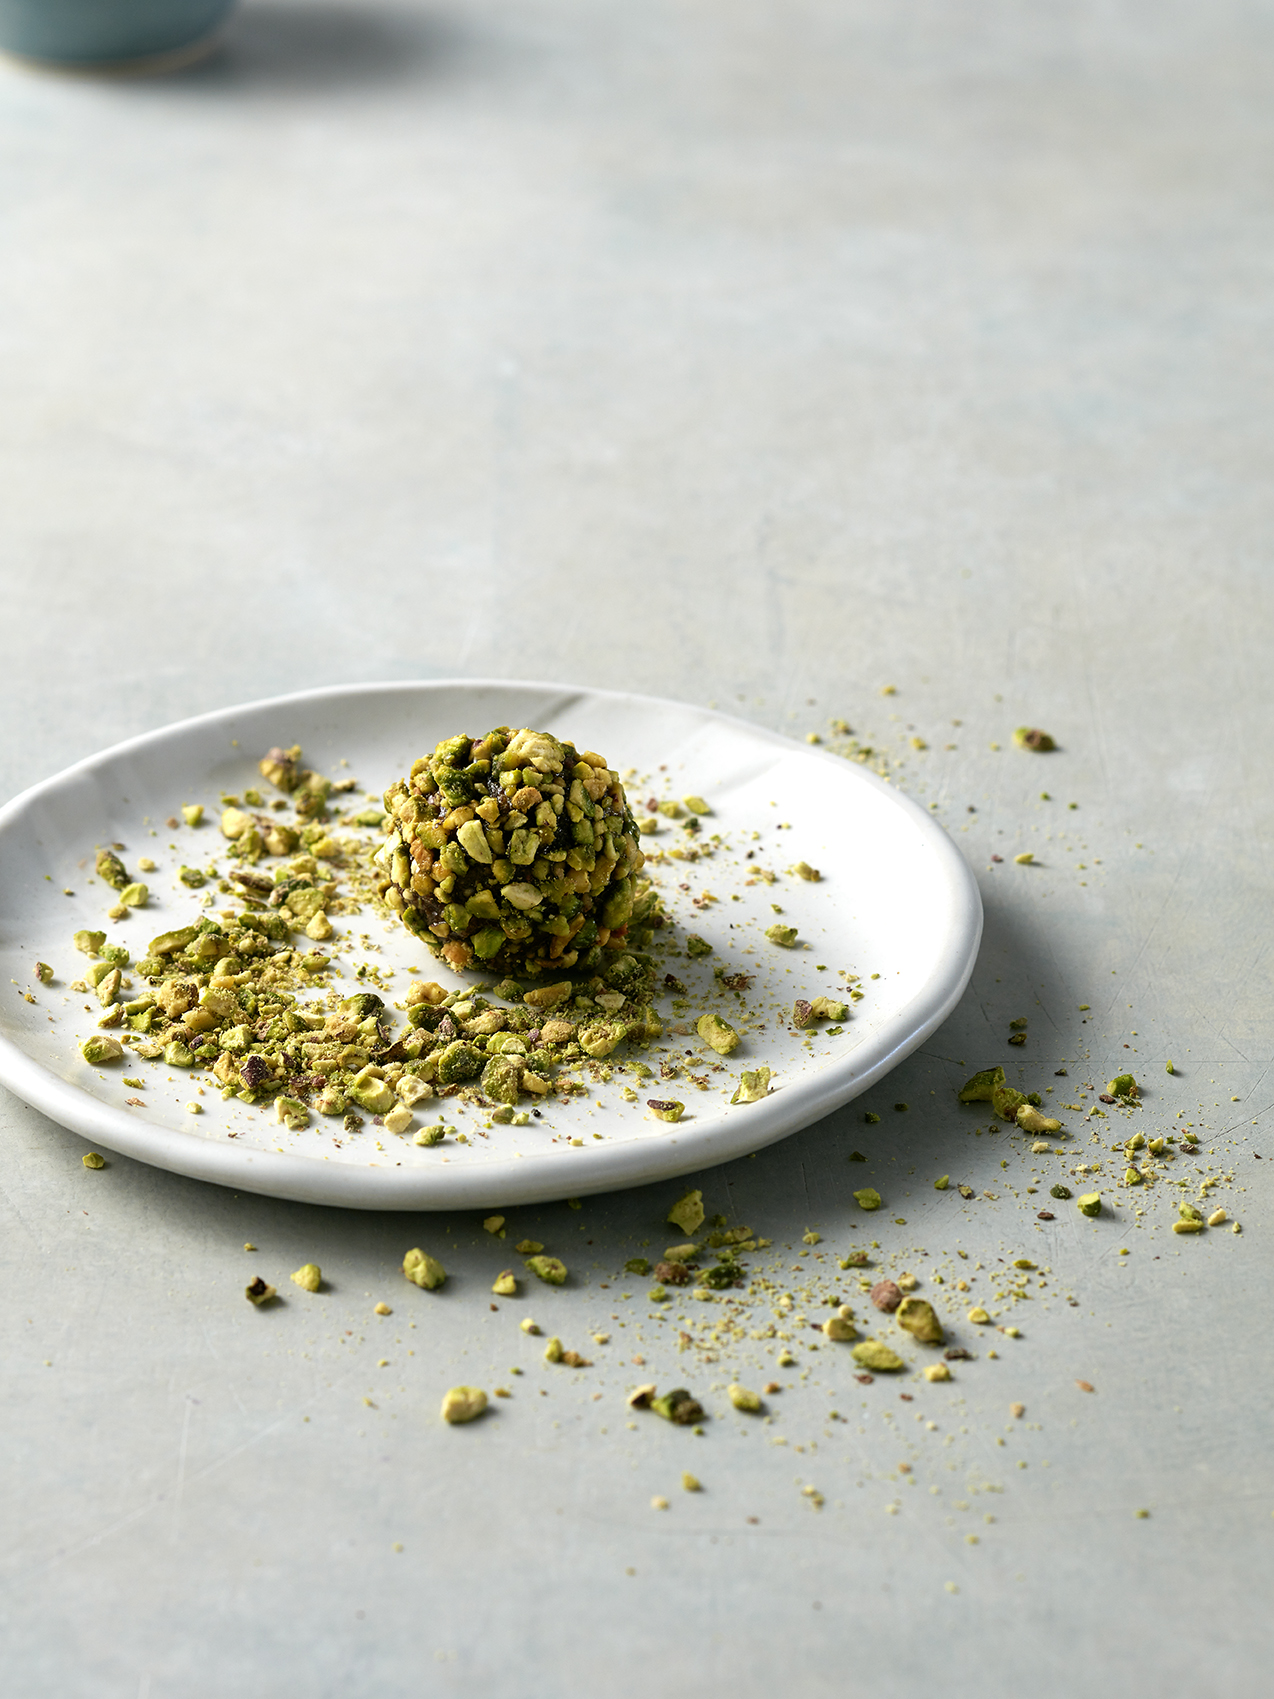
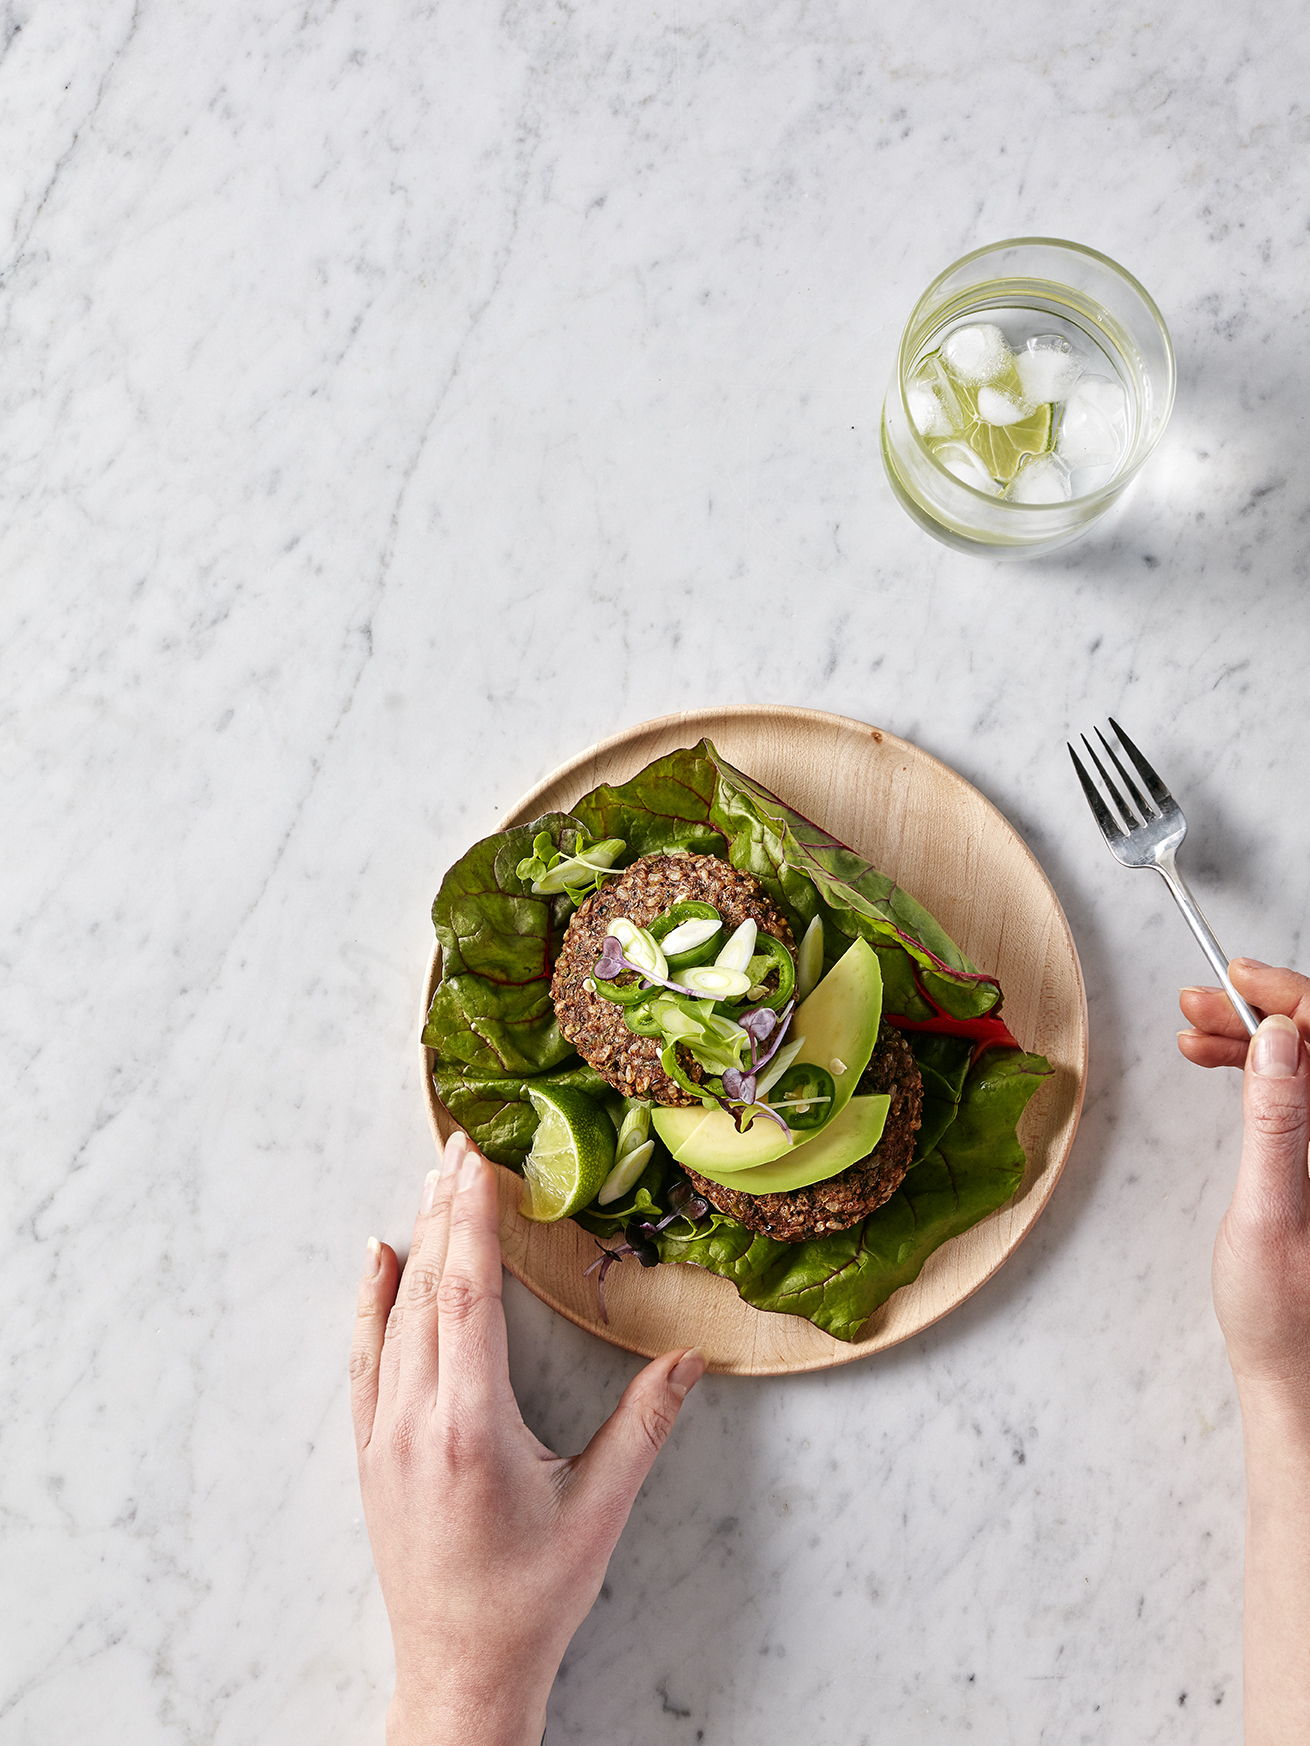
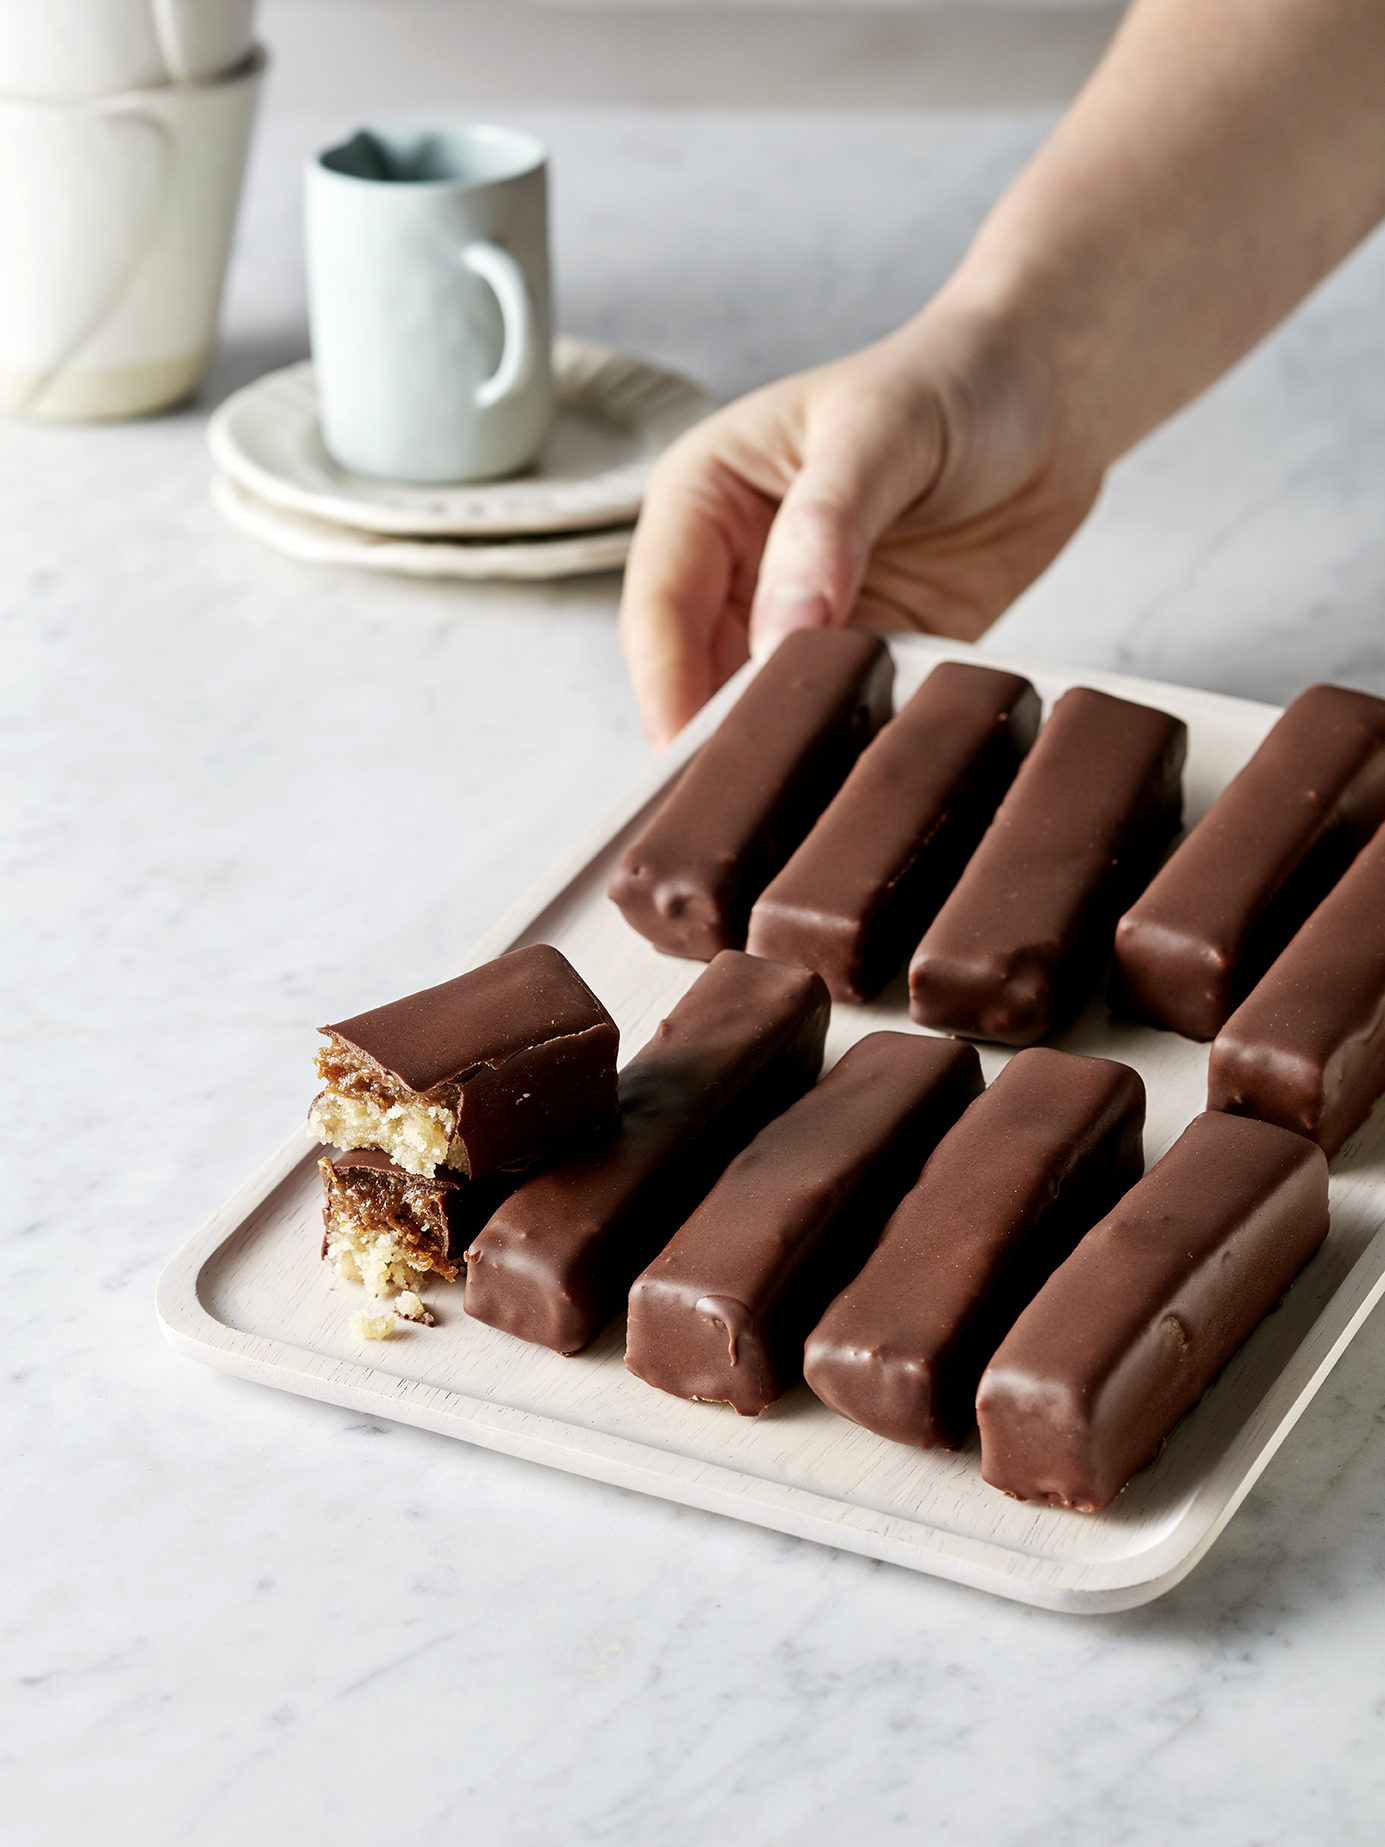
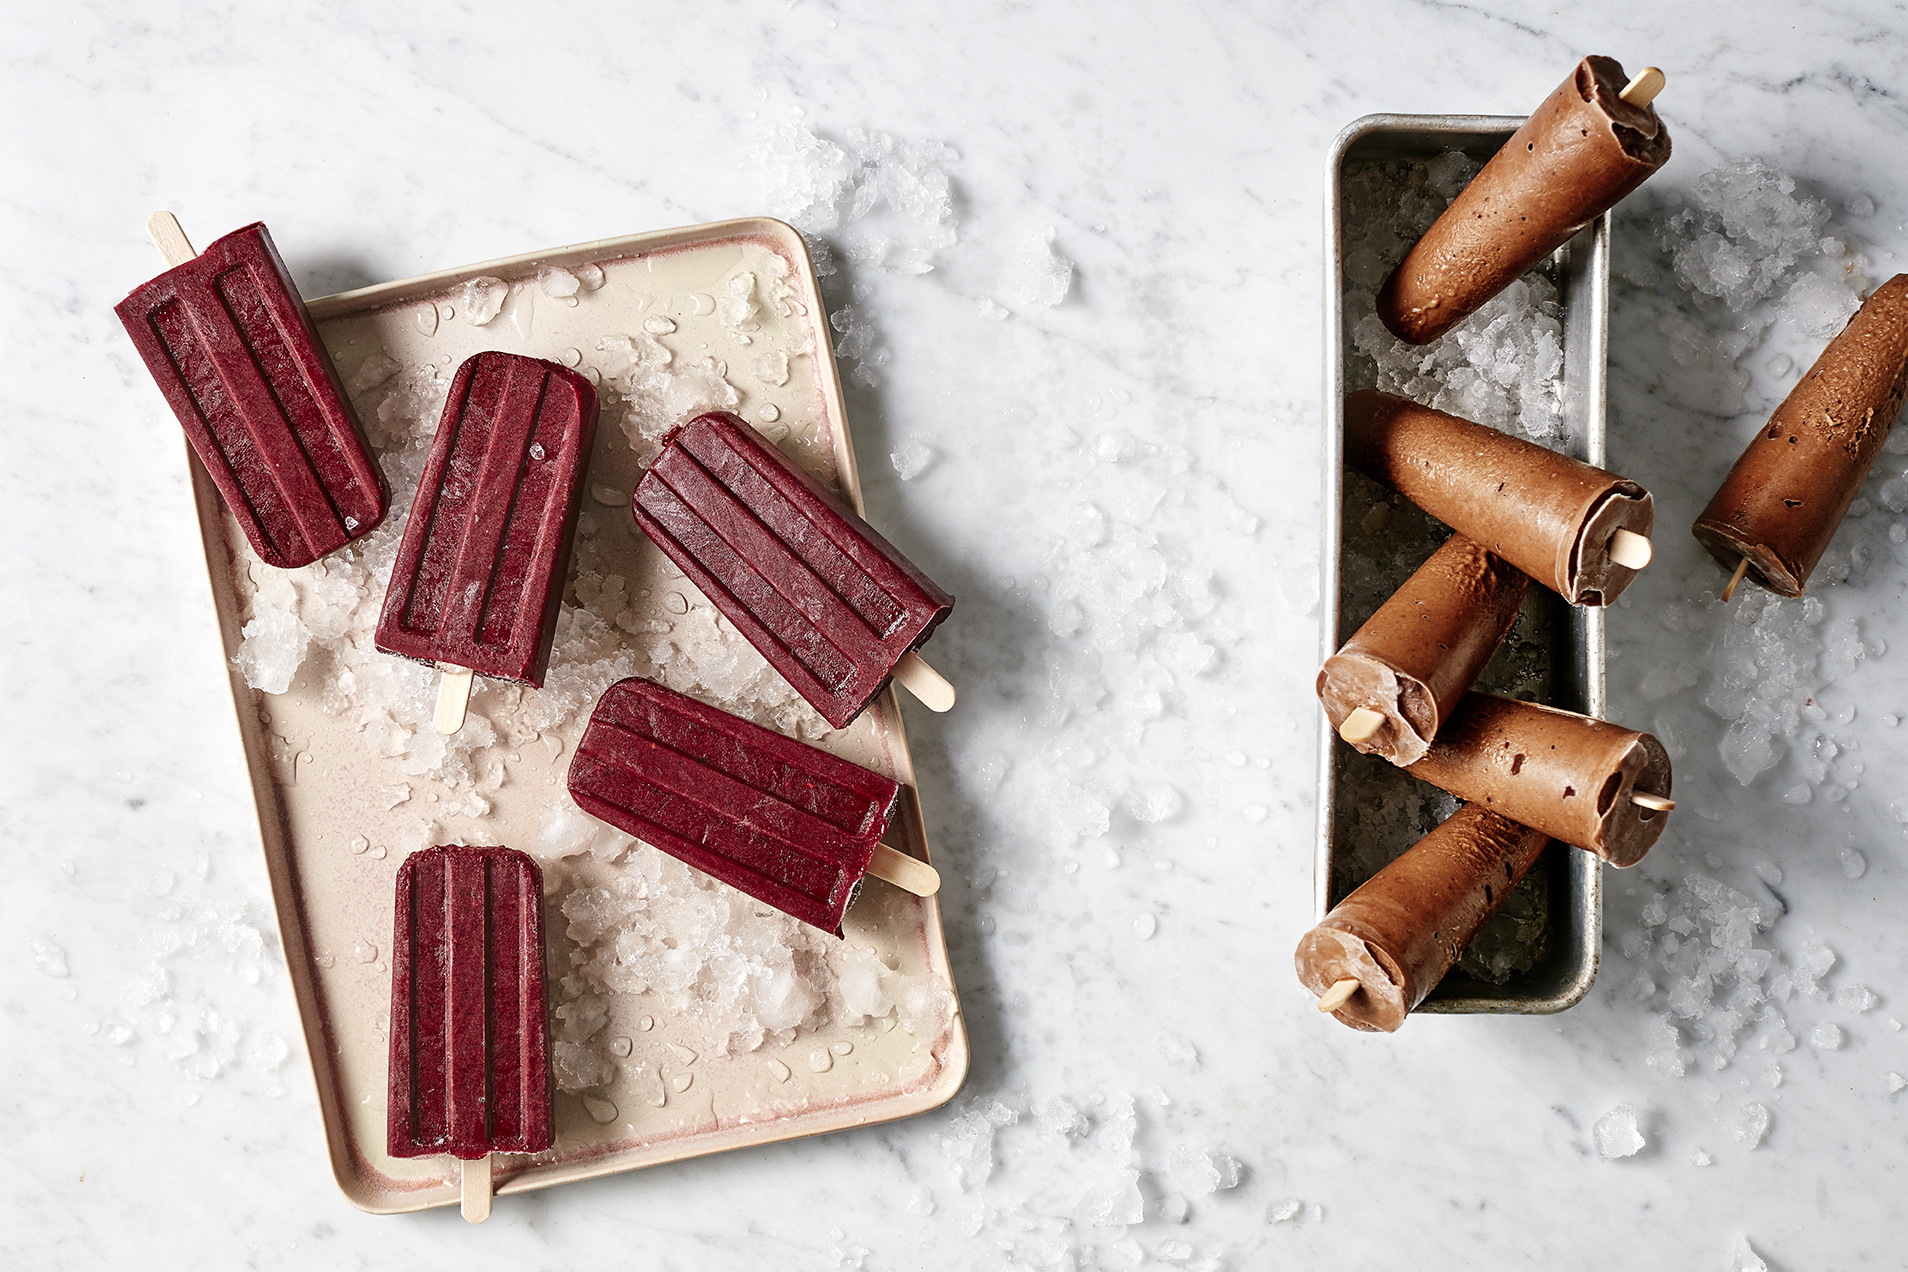
The recipes in this cookbook are a mix of bite-sized snacks and lunchbox fillers (think 5-ingredient Peanut Butter Bliss Balls, Raspberry Ripe Truffles, Golden Funtime Balls, Not-So-Malt Teasers), savoury treats (think Rainbow Sushi Balls and Thai 'Crabless' Cakes), as well as delicious desserts (think Almost-A-Snickers Bar, Raw Lemon Slice) with a few healthy 'milkshakes' and smoothies popped in there too. 

Something I have been incredibly passionate about since starting Kenkō Kitchen is trying to help others see that eating healthy doesn't have to be just lettuce on a plate, and it doesn't need to be hard or expensive. I hope this cookbook, and it's small price tag, will bring joy and pleasure into kitchens and lunchboxes around Australia (and the world!). 

The cookbook will be released December 1st (oh would you fancy that, right in time for holiday gift shopping - wink wink, nudge nudge!) through Hardie Grant Books.

For my UK and USA friends, 'Bliss Bites' will be released January 2nd, 2018.

You can now pre-order the cookbook from Booktopia, Book Depository, and Amazon.

Bliss Bites Cookbook // Kenkō Kitchen. Image taken from the Bliss Bites Cookbook. Cookbook out December 1st through Hardie Grant. Photography by Elisa Watson, styling by Caroline Velik.

Bliss Bites Cookbook // Kenkō Kitchen. Image taken from the Bliss Bites Cookbook. Cookbook out December 1st through Hardie Grant. Photography by Elisa Watson, styling by Caroline Velik.

Golden Mylk Sunshine Smoothie
Golden Mylk Smoothie // Kenkō Kitchen. Photography by Elisa Watson, styling by Kate Bradley (Kenkō Kitchen).

Golden Mylk Smoothie // Kenkō Kitchen. Photography by Elisa Watson, styling by Kate Bradley (Kenkō Kitchen).

I'm not going to lie, when the golden mylk trend started I was all over it like a rash. I was ordering golden mylk lattes at cafes (no shame - i'm one of those people), I was creating golden mylk hot chocolates at night and I was even making the below recipe, golden mylk smoothies, after the gym or pool. I just couldn't get enough of that sweet golden liquid, but for good reasons! 

This smoothie is amazing for helping with inflammation (thanks turmeric) and great for anyone who does labourious work or hits the gym regularly to help those sore muscles.  The black pepper in this smoothie plays an important factor, as it boost the bioavailability of curcurmin (aka it makes it easier for our bodies to absorb the goodness from turmeric). The ginger in this smoothie helps to ease the digestive system and can be good for anyone experiencing nausea.

Frozen bananas are my favourite friend when it comes to smoothies as not only do they add a creamy texture and cool your drink down, they are also packed with energy to keep you fuelled. Bananas are also great for making you happy due to high levels of the mood-enhancer tryptophan! So not only does this drink look like sunshine - it will have you feeling like sunshine too!


GOLDEN MYLK SUNSHINE SMOOTHIE

Serves 2
Prep time: 5 minutes

INGREDIENTS

2-3 frozen bananas
600ml plant-based milk (almond or coconut)
2 heaped tablespoons cashew or almond butter
1-2 medjool dates, pitted
3/4 - 1 teaspoon turmeric
3/4 - 1 teaspoon cinnamon
1/4 teaspoon ginger
pinch cardamom
pinch black pepper
1 tbs raw honey or rice malt syrup (optional - i don't use either)
1 scoop vanilla protein powder (optional)
1 cup ice (optional)

METHOD

  1. Place all ingredients into your blender and blend until smooth. Pour into two glasses and enjoy immediately.

Note: To make this into a 'thick shake' add a scoop of plant-based ice cream (refined sugar-free, of course!).