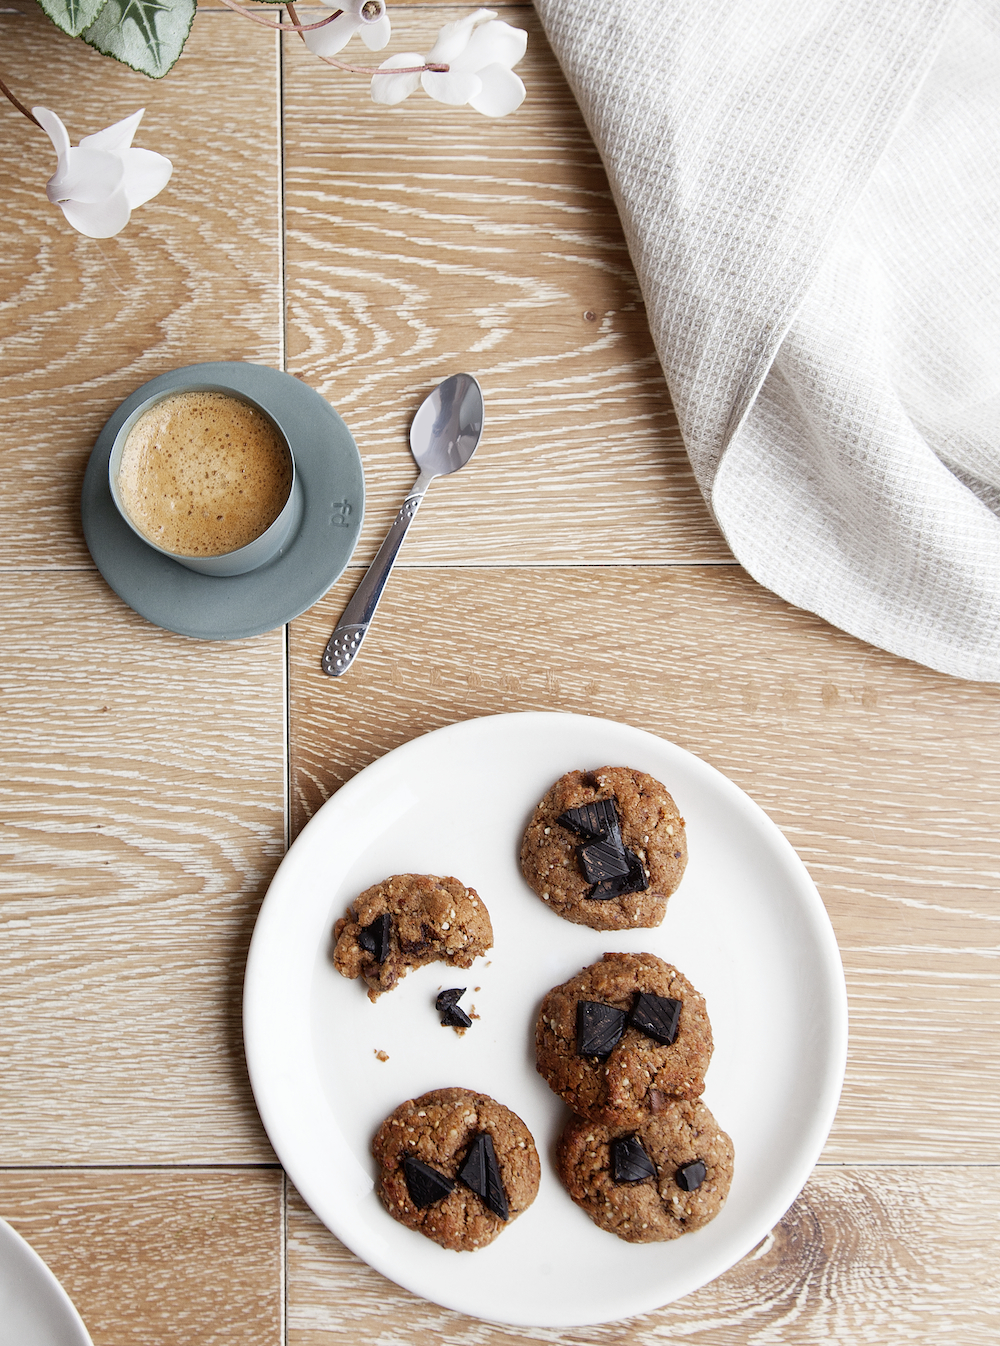
Double Choc Chunk Muffins // Kenkō Kitchen. Photography by Elisa Watson, styling by Kate Bradley (Kenkō Kitchen).
These muffins are some of the best chocolate muffins ever. Period! They are packed with protein, are incredibly fudgy yet still somehow light at the same time. They could totally be made nut-free by using a seed butter and a non nut based milk. I definitely recommend adding in the additional ingredients for an extra delicious flavour!
Double Choc Chunk Muffins
Makes 12-15
Prep time: 15 minutes
Setting time: 10-15 minutes
INGREDIENTS
1/4 cup flax seeds (ground into a meal)
1/4 cup arrowroot/tapioca flour
1/4 cup besan (chickpea) flour
1/2 cup cacao powder
1 scoop plant-based protein powder (I use Switch Nutrition - Protein Switch in Chocolate Sea Salt)
1 tsp bicarb soda
1 1/2 tsp baking powder
2/3 cup nut butter (I used an almond/peanut butter mix)
2/3 cup maple syrup (or rice malt syrup)
1/4 cup plant-based milk (I used almond)
1 tsp apple cider vinegar
160g dark chocolate
Optional Extras - I totally recommend adding!
1/2 - 1 tbs white miso paste
1 tablespoon mesquite powder (optional)
pinch sea salt flakes
METHOD
Preheat oven to 180oC (350oF).
Combine flax seed meal and 125ml (1/2 cup) water in a large bowl and stand for a few minutes, or until water has been absorbed.
Add the arrowroot flour, besan flour, cacao powder, protein powder, bicarb soda and baking powder and stir to combine well. Stir in the nut butter, maple syrup, milk and vinegar until well combined then add the chocolate.
Line a 12-hole muffin tin with paper muffin cases, then divide the mixture evenly between them. Transfer to the oven and bake for 10-15 minutes or until the tops have cracked and the muffins are cooked through.
Allow to cool in the tins before serving.
Note: Due to the lack of refined sugars in here, these only last 3-4 days, in an air-tight container at room temperature. They will keep slightly longer in the fridge. If you refrigerate them, you may just want to warm them slightly before serving.